Block printing is a very effective way of printing onto fabric, paper and cards. It is traditionally achieved using carved wooden blocks, but another really effective way is to use easy-to-cut craft foam sheets. Sticking your design to a clear acrylic block will make print registration much easier. Carry on reading to find out how to make your block.
WHAT YOU NEED
Tracing paper
Soft pencil
Sticky backed craft foam
Scalpel or craft knife
Cutting mat
Scissors
Clear acrylic block


You can buy this sticky backed foam from Hobbycraft or The Range.

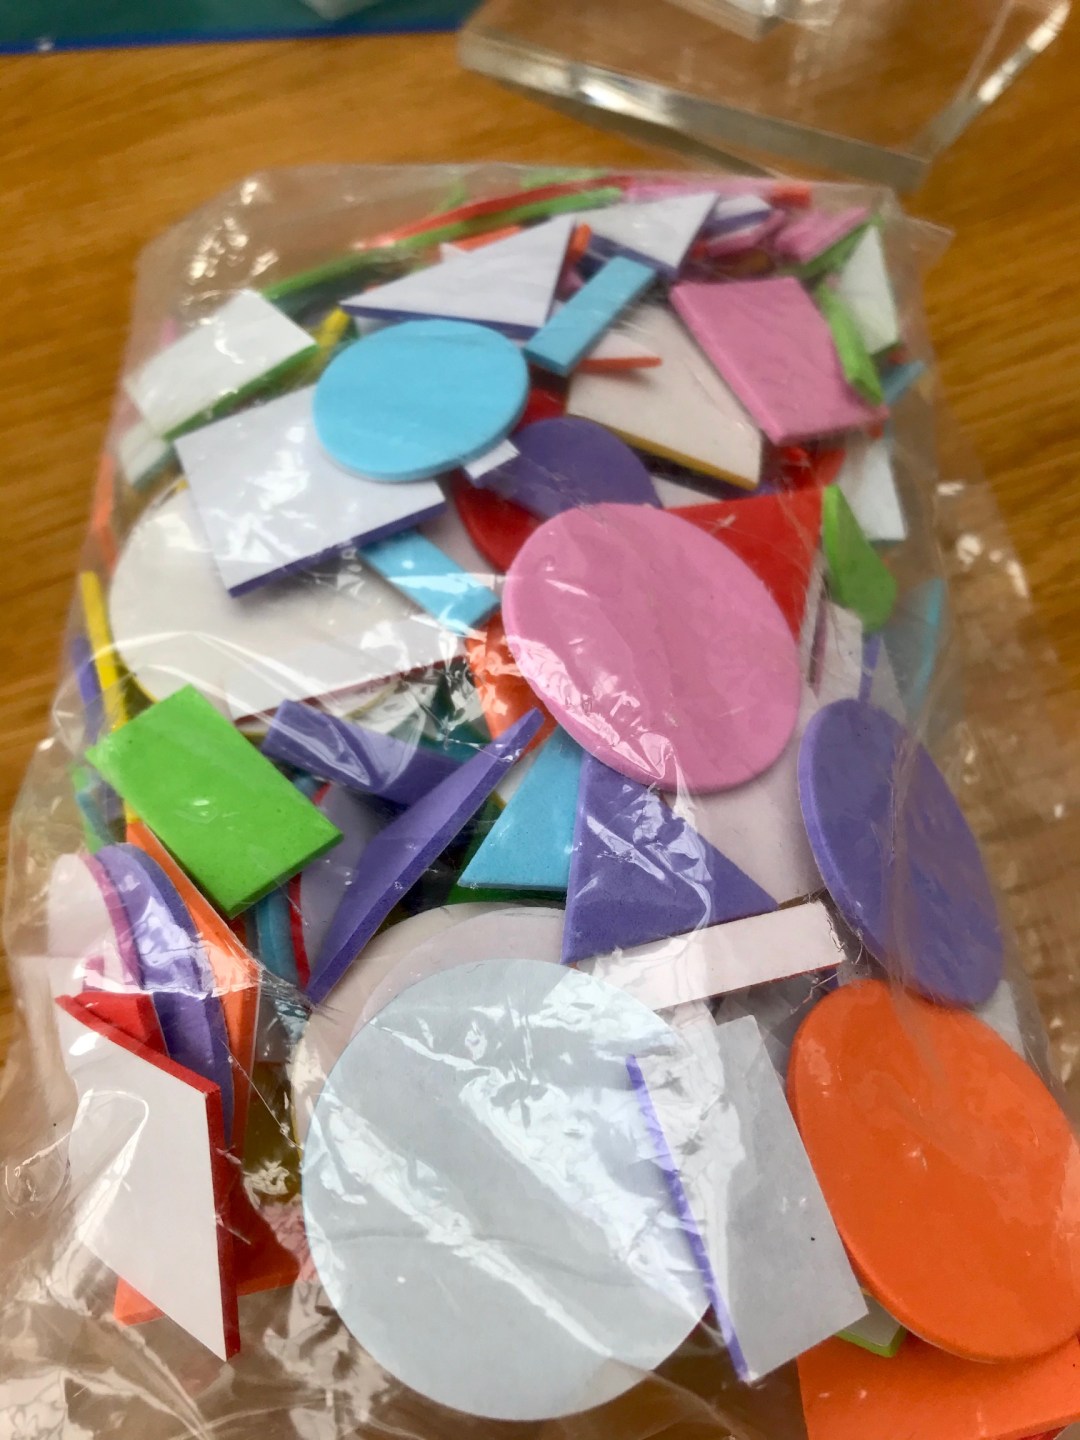
Alternatively buy ready cut foam shapes, also from Hobbycraft or The Range.

Clear acrylic blocks can be found in the card printing section of Hobbycraft, The Range or buy online.
- Trace and transfer the design
You can sketch a design and trace and transfer the design onto the sticky-backed craft foam. Or use ready cut foam shapes that you can buy in packs.
- Cut the foam
Cut out your design using a scalpel or craft knife on a cutting mat. Stick the foam motif onto your clear acrylic block
- Add details to the motifs
To create dot eye details, pierce and rotate with the end of a bodkin or kebab skewer. For indentation lines and details, draw the bodkins across the foam with pressure
4. Height of the foam
Below is a selection of designs I’ve made on acrylic blocks. I find that when inking up the blocks it’s easier if the foam is double thickness. If you can create extra height it will make your life a lot easier. Have a look at the circle in the bottom right hand corner. Here you can see I’ve stuck two circles on top of each other (yellow at the bottom and red on top).


Trackbacks/Pingbacks